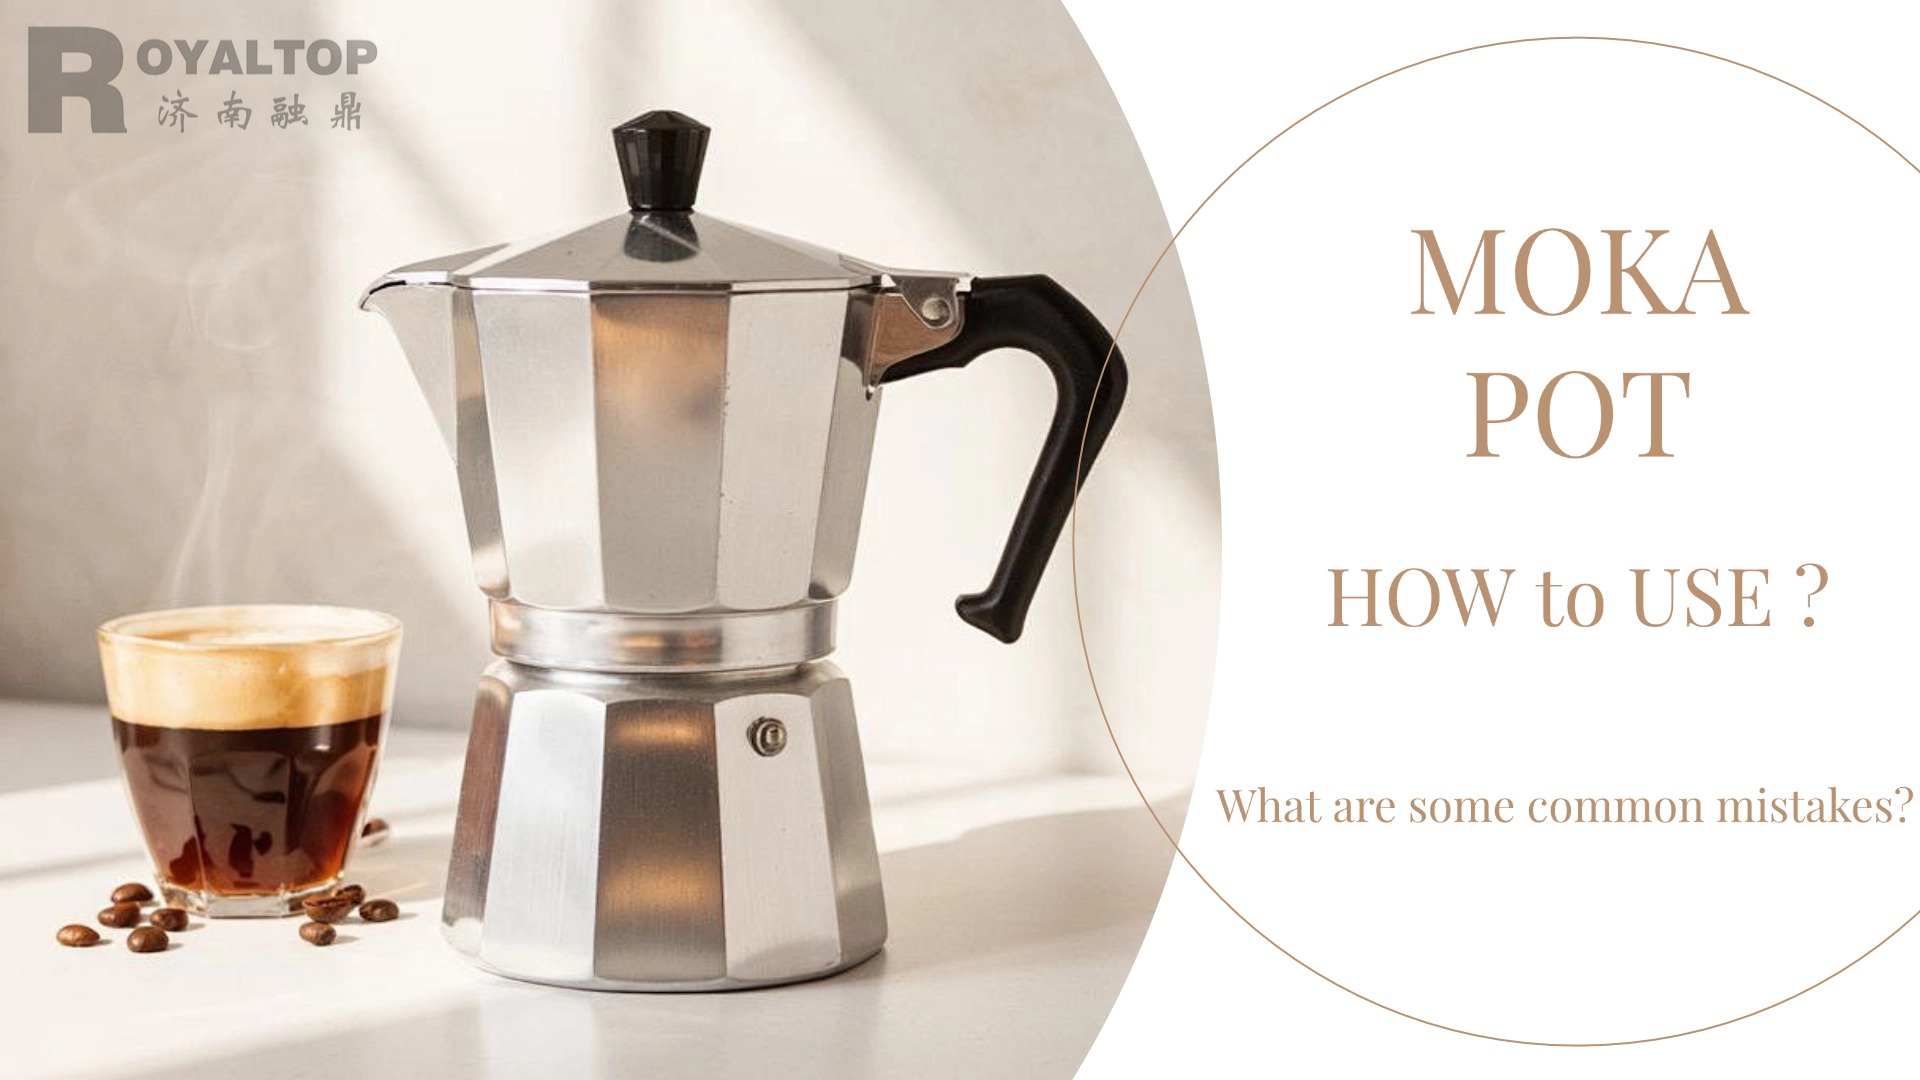
Using a Moka pot seems simple, but minor mistakes can ruin the flavour of your coffee. Royaltop has compiled a list of common mistakes made by customers when using Moka pots. Below are the eight most common mistakes and professional solutions, along with explanations of the underlying principles.
One. fatal errors (safety/equipment damage)
Error 1: Filling above the water level → Risk of steam explosion
Phenomenon: Water level exceeds the pressure relief valve
Consequences: Pressure cannot be released → Kettle body deforms or even explodes
Correct operation:
Water level 5 mm (about one finger width) below the bottom of the pressure relief valve
Error 2: Forcibly tightening a deformed kettle body → Leakage and splashing
Symptom: Forcibly tightening a deformed threaded joint
Consequence: High-temperature liquid sprays out from the gap
Inspection method:
Turn the kettle body upside down and fill it with water → Observe whether there is leakage (leakage = replacement required)
Second, mistakes that ruin the flavour
Mistake 3: Tamping the grounds (90% of beginners make this mistake)
Action: Imitating the tamping of grounds in an Italian coffee machine
Consequences:
→ Excessively dense grounds → Increased pressure → Channeling (uneven extraction)
→ Coffee splashing + bitter taste
Scientific Solution:
Natural filling → Lightly tap the portafilter → Level without tamping (density ≈ 0.3 g/cm³)
Error 4: Boiling water (disrupts the extraction curve)
Misconception: ‘Hot water speeds up extraction’
Actual damage:
→ Lower pot water temperature > 90°C → Steam pressure spikes instantly → Over-extraction at high temperatures
→ Loss of initial fruit acids, emphasising bitterness
Optimal water temperature: Start with cold water (to ensure a complete temperature rise curve)
Mistake 5: Ignoring heat control → Continuous boiling and burning
Typical manifestation: Not reducing the heat after the liquid has been dispensed
Consequences:
High-temperature steaming of coffee grounds at the end → Smoky and rubbery taste
Remedy:
Reduce the heat to the lowest setting when 1/3 of the liquid has been dispensed
Place a wet towel under the pot when more than half of the liquid has been dispensed
Three, Equipment Wear and Tear Errors
Error 6: Incorrectly cleaning the filter → Blocking the extraction holes
Damaging the pot:
Scrubbing the filter with a steel wool pad → Scratching the coating
Leaving coffee grounds overnight → Grease solidifies and blocks the filter
Professional maintenance:
→ Immediately rinse the filter with an old toothbrush and warm water
→ Soak in white vinegar for 10 minutes monthly to remove scale
Error 7: Ignoring seal ring ageing → Insufficient pressure
Signs of failure:
Extraction time > 8 minutes
Coffee liquid volume in upper pot < 60% of water volume in lower pot
Replacement cycle:
Replace silicone ring every 2 years (cost: 2 USD)
Four, common mistakes in operation
Mistake 8: Incorrect amount of powder/grind size for the type of pot
| Size |
Amount of coffee powder |
Reference values for grinding degree |
| 1 Cup |
8-10g |
Slightly coarser than caster sugar (800μm) |
| 3 Cup |
15-18g |
Fine salt-like (500μm) |
| 6 Cup |
22-25g |
Between the two (650μm) |
Consequences of errors:
Too much powder → extraction blockage | Too little powder → fast flow rate and weak flavour
Error Correction Comparison Table: Problem Symptoms and Solutions
| Trouble |
Core error |
Corrective measures |
| Coffee splatter |
Powder too compact/powder too fine |
Grind to coarse setting 1 + loose powder without pressing |
| Only a small amount of coffee liquid |
Seal ring ageing/filter screen blockage |
Replace the seal ring + vinegar wash the filter screen |
| Strong burnt smell |
Continuous heating with a large fire |
When 1/3 of the liquid has evaporated, reduce the heat to low |
| Tart and sharp coffee |
Grinding too coarse/too much water |
Fine grinding + reduce water volume by 10% |
Ultimate Safety Checklist
1. Fill with water: Cold water to 5 mm below the pressure relief valve
2. Fill with powder: Fill naturally → Scrape flat → Never press down
3. Assemble: Wrap the kettle in a damp cloth → Tighten until resistance increases significantly (approximately 15 Nm)
4. Heating: Centre flame diameter = 80% of the bottom of the pot
5. Removing from heat: When you hear a loud hissing sound → remove within 3 seconds
6. Cooling: Rinse the sides of the pot with running water (to prevent over-extraction)
> Expert tip: Mark the safe water level on the pot body (using a waterproof marker), and say goodbye to water level anxiety!
Mastering these key points ensures the Moka pot will consistently produce aromatic coffee. Every mistake avoided is a step closer to perfect extraction!
BLOG OUTLINE:

 Personalized design kitchen set - customized containers for spices, salt, pepper, and sugar
 2026 Spring Festival Notice
 In 2026, a new beginning, Royaltop provides you with the best service
 How to Choose a Coffee Cup


